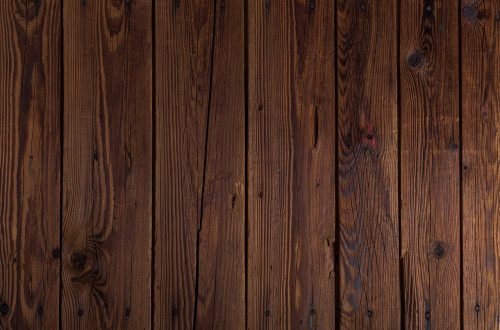
The natural colors of natural wood are undeniably beautiful. But what if you want to add color to every day of your home life? Any ideas and design fantasy can be realized by using such type of treatment of wooden furniture as staining. In fact, staining wood is a long and time-consuming process. Why? Read below.
Preparing wood for staining
Tinting is a certain type of wood staining, which is intended not only to change the color, but also to emphasize the unique structure of the species. However, what kind of shade the future furniture will end up with is not easy to predict. Therefore, manufacturers often try new stains on a piece of wood, taken from the same trunk as the future piece of furniture. Trial staining when working with a new solid or material is simply necessary – it shows how to apply the paint and how to achieve the desired effect.
When the experiments with color are brought to an end, proceed to the preliminary preparation of the wood itself. It consists of three points:
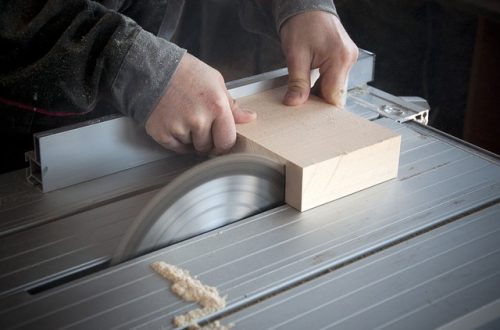
– Sanding. Remove the trash particles before staining is a must! After all, even small knots of the unpolished solid wood under the paint will look sloppy. If the wood surface was touched by hand, it is degreased with acetone or gasoline.
– Desmoothing. Conifers before staining is important to desmossing. After all, otherwise the resin will not allow the paint to spread evenly over the surface. A special solution is applied to the wood, rubbed with a brush or sponge, let dry a little and wipe with a rag. And this process can be repeated even several times – depending on the presence of resins in the wood.
– Bleaching. It’s not always used. Bleaching is required in order to get brighter and richer colors as a result. This procedure is also needed when the old wood is already stained. Most often, manufacturers use hydrogen peroxide for bleaching.
How does the tinting itself happen?
All the preparatory work is done – and the wood is ready to change its color soon. Here’s what directly happens next:
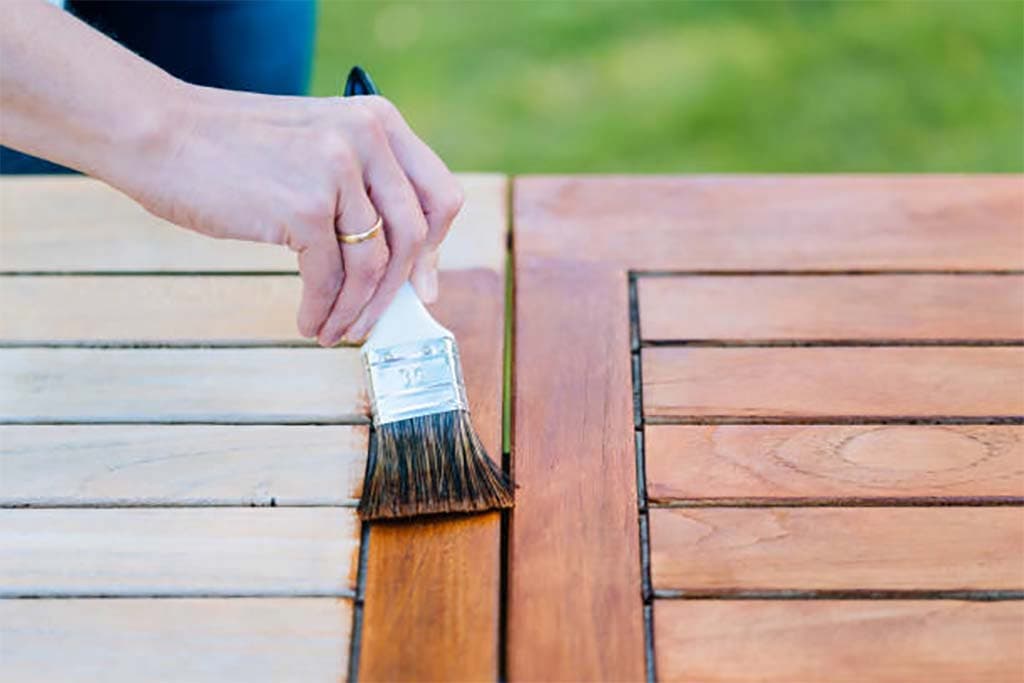
– Staining. The wood is stained. This is done either manually (the dye is put on the sponge, applied along and across the fibers, then squeeze out the sponge and remove the excess dye), or using a special sprayer
– Drying. Then the wood is allowed to dry to see the resulting shade. If the color is not very saturated, the tinting procedure can be repeated several more times.
– Sanding. And everything ends again with sanding – only now they take a sandpaper, which only slightly grinds the edges and ribs of the future furniture.
– Varnish coating. To color is held for a long time and was more resistant to external influences, painted and sanded wood is covered with varnish.
That is how the details for bright and fancy furniture are made. In this case, if you want to change the color of whole bars, it is better to dip them in a special container with a dye. Tinting is not a simple process, and to get the desired shade of color, the wood should be stained by a true professional.
Natural dyes
Tinting wood is possible and with the help of natural dyes. Such natural stains are successfully used to turn wooden furniture into real works of art.
Basic natural dyes
Many natural substances are able to change the color of wood. Their main advantage is excellent resistance when exposed to light. Natural dyes are very easy to prepare and absolutely non-toxic. Such stainers are suitable for furniture made of light hardwoods. The final color is the result of the dyeing component. Previously, the wood is etched in a saline solution, so that its color is even more stable.
The most traditional types of natural dyes for tinting, which came to us from the distant past, are various decoctions. For example, onion hulls, steeped black tea, and coffee beans mixed with baking soda. Surprisingly, but even decoction of walnut shells can make light wood brown.
The most common dyes of natural origin are walnut stain, or beyz. And its lightfastness sometimes surpasses even artificial dyes. Beitz includes special coloring acids, which are called humic acids. They are obtained from peat, soil and coal. Walnut stain mixes well even with synthetic dyes. Before application, the wooden surface is moistened with water, and then with a tampon distribute the stain.
The ABC of colors of natural dyes
You probably can’t even imagine what opportunities for tinting are hidden in natural dyes! With their help, you can get almost an entire palette of colors. Here are just the main wonders they can do:
– Onion hulls turn a light-colored wooden surface into a red-brown one.
– Decoction of alder or willow bark can give wood a rich black hue.
– Decoction of young poplar twigs can give the wood an orange or yellow color. And if you add oak bark, then the stained product will become greenish.
– With the help of natural dyes, the wooden surface can be tinted even blue! This color can be achieved by using buckwheat, larch and barberry bark.
Well, the most unexpected shades can give decoctions obtained from sawdust. Therefore, for dyeing one type of wood you can even use sawdust of another. Decoctions from the sawdust of walnut, alder, pear and oak are great for this purpose.